The previous blog concerned photographing the moon, and following this extra-terrestrial theme, here is a blog about photographing the sun. I used to say that perhaps 15% of all photographs were of sunsets, but with the advent of smart phones and selfies, this percentage has declined dramatically.
Unlike moon photography, determining the location of the sunrises and sunsets is relatively easy, as the location is visible for some time prior to the actual event. Here are some tips for creating excellent sun images:
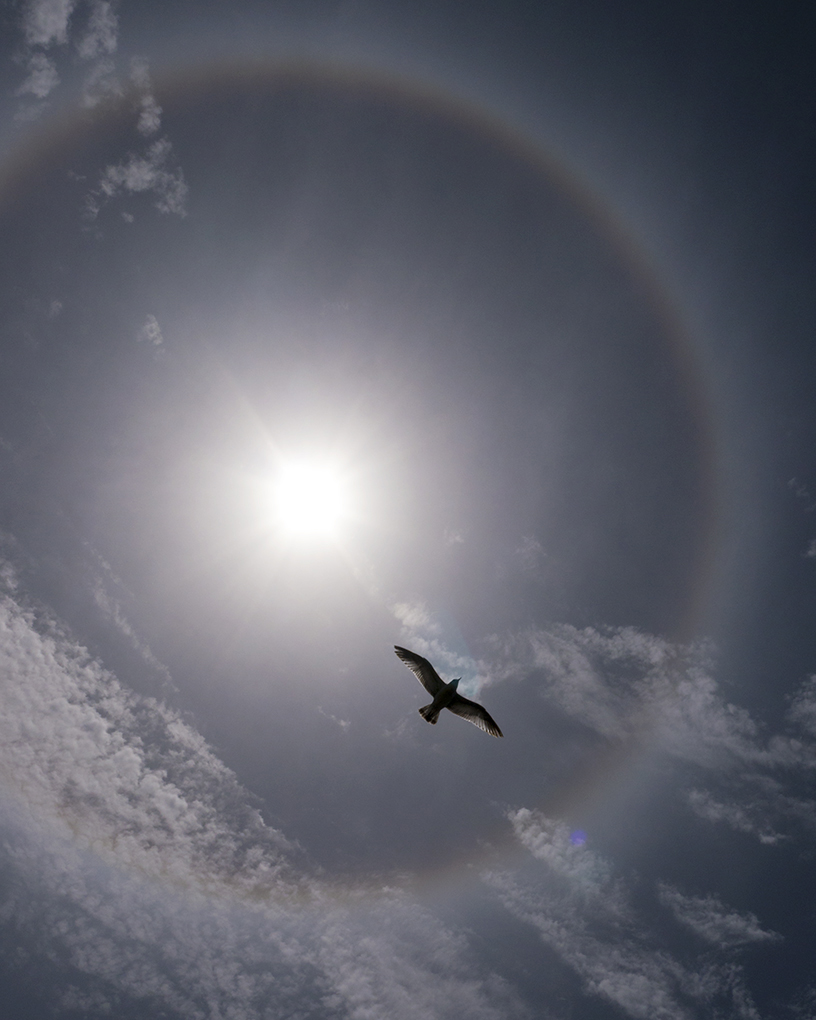
Sun Halo in Florida
1. NEVER look directly into the sun, especially through a telephoto lens. This is a great way to permanently damage your retinas. When aiming the camera, frame what you want above or below where the sun is, and then move the camera up or down to include the sun. If you do look through the lens, look anywhere in the frame but at the sun. Reflections of the sun off of the water also count.
Some cameras have a depth-of-field preview button next to the lens. You can configure the lens for the smallest aperture and use this button to look through the camera at the sun with minimum exposure, but it’s still dangerous.
2. As the sun sinks (or rises) into the atmosphere, a phenomenon similar to moonrises and moonsets occurs. When it is on the horizon, the color of the sun varies. This is because you are looking at the sun through much more atmosphere than when it is overhead. Dust in the air or photographing the sunset just after a rain can affect the color dramatically.
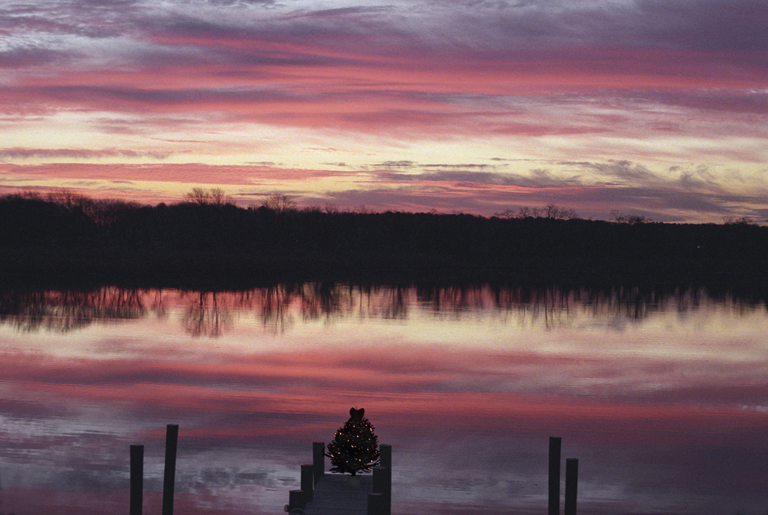
Christmas Clouds
3. Clouds can help. The color of the clouds just after sunset or before sunrise can mitigate the intensity of the direct sun and add dimension to your image. No clouds create a situation where there is little drama in your sunset picture.
4. “Mask” the sun. Use atmospheric conditions such as fog, smog or haze to create “filters” where the sun is much more distinguishable and appears with definition rather than as a white orb. Other objects in your frame will have more character with a masked sun.
5. At sunrise or sunset, objects on earth will be silhouetted, as you are looking directly into your only light source and it is bright. Take your exposure reading off of the brightest parts of your framed picture, otherwise the resultant photograph will looked “washed out”. For sunsets with a fantastic array of multicolored clouds, position the horizon in the bottom third of the frame for maximum effect. You can use reflectors to bounce back some of the light, or use flash to “fill in” the light on subjects close to the camera (like people). Off-camera flash is desirable. With many cameras you can adjust the intensity of the flash so that your subjects are not extremely overexposed against a coal-black background.
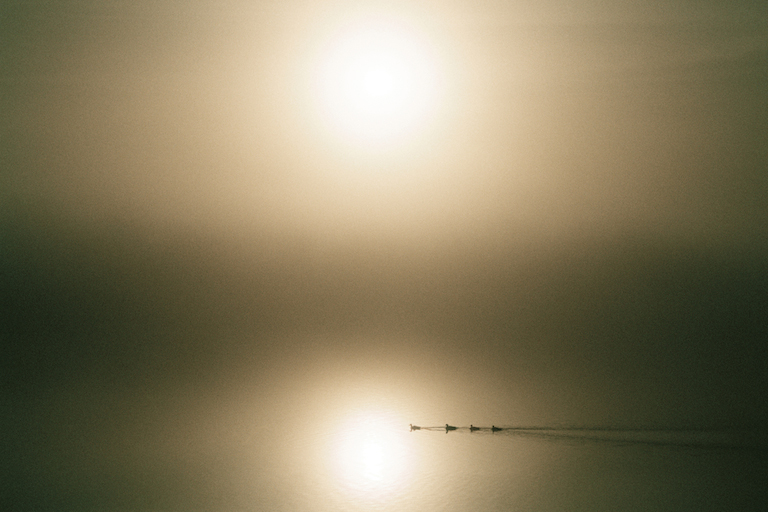
Geese in Fog
6. We have seen many sunsets where the actual location is a mystery. The sun in Nova Scotia is the same as the sun in Costa Rica. Make yours different by including identifying objects such as lobster boats or palm trees.
7. Turn around. Sometimes the way the light at dawn or dusk strikes the landscape is much more interesting than just shooting another sunset.
8. Long shadows during the “golden hour” prior to sunset “model” the subject, creating a more three-dimensional effect for your actual two-dimensional image. Take advantage. You can still shoot the actual sunset.
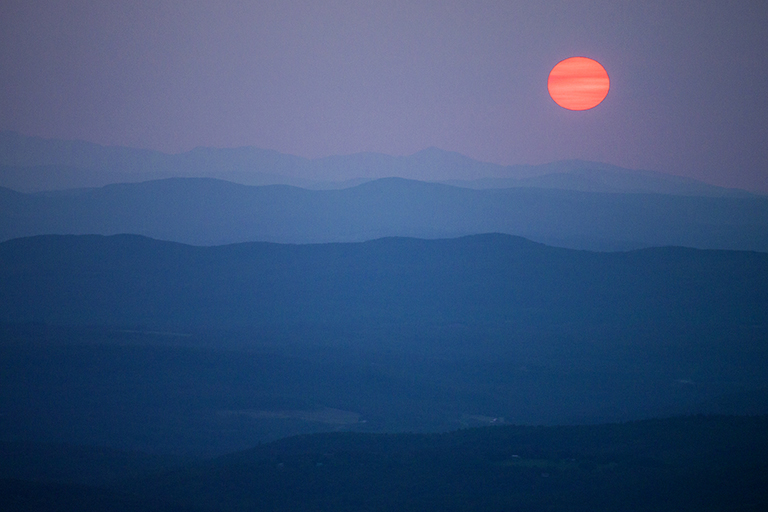
White Mountains Sunset
Additional tip: You can adjust the exposure on your iPhone by tapping the area where you want the best exposure, – i.e. the sun, or the foreground. You can instantly see how the resultant image will be affected.
Want to have a hands-on photographic experience? Join me on one of my international photography tours. Go here, or back to the menu bar and select “Workshops”.